 by
by When i got the idea of starting a blogging website, my first choice was to use “wordpress”. Why ? Because it’s damn simple and lots of helpful websites are already there to explain all the features of wordpress functionalities which is very easy to understand if someone is tech geek. But, i didn’t find much help for those peoples who are quite new to all these kinds of fabulous technical stuffs.
So, i am explaining all the tiny details of wordpress to make blogging experience as a cake-walk for everyone. Follow step by step to create your initial website up and running in just matter of time.
Step 1: Login to website control panel
To Login to your website administration area type “<website address>/<wordpress installation folder>/wp-admin”.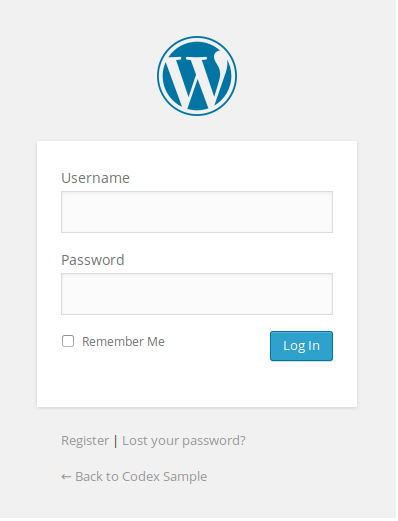
For example “http://abc.com/wp/wp-admin” . Note that, when you are installing wordpress it asks for a path and
by default it’s folder name is selected as “wp” in wordpress 4.2.4 version. If you want you can remove this folder
and then your login address will become like this “http://abc.com/wp-admin”. when you visit this it will open a
login window which will look like picture shown on the right side. Now login to your wordpress using your “username” and “password”.
Step 2: Know about WordPress home page
After Login, you will see a lot of things distributed here and there on the main page which is called the “Dashboard”. 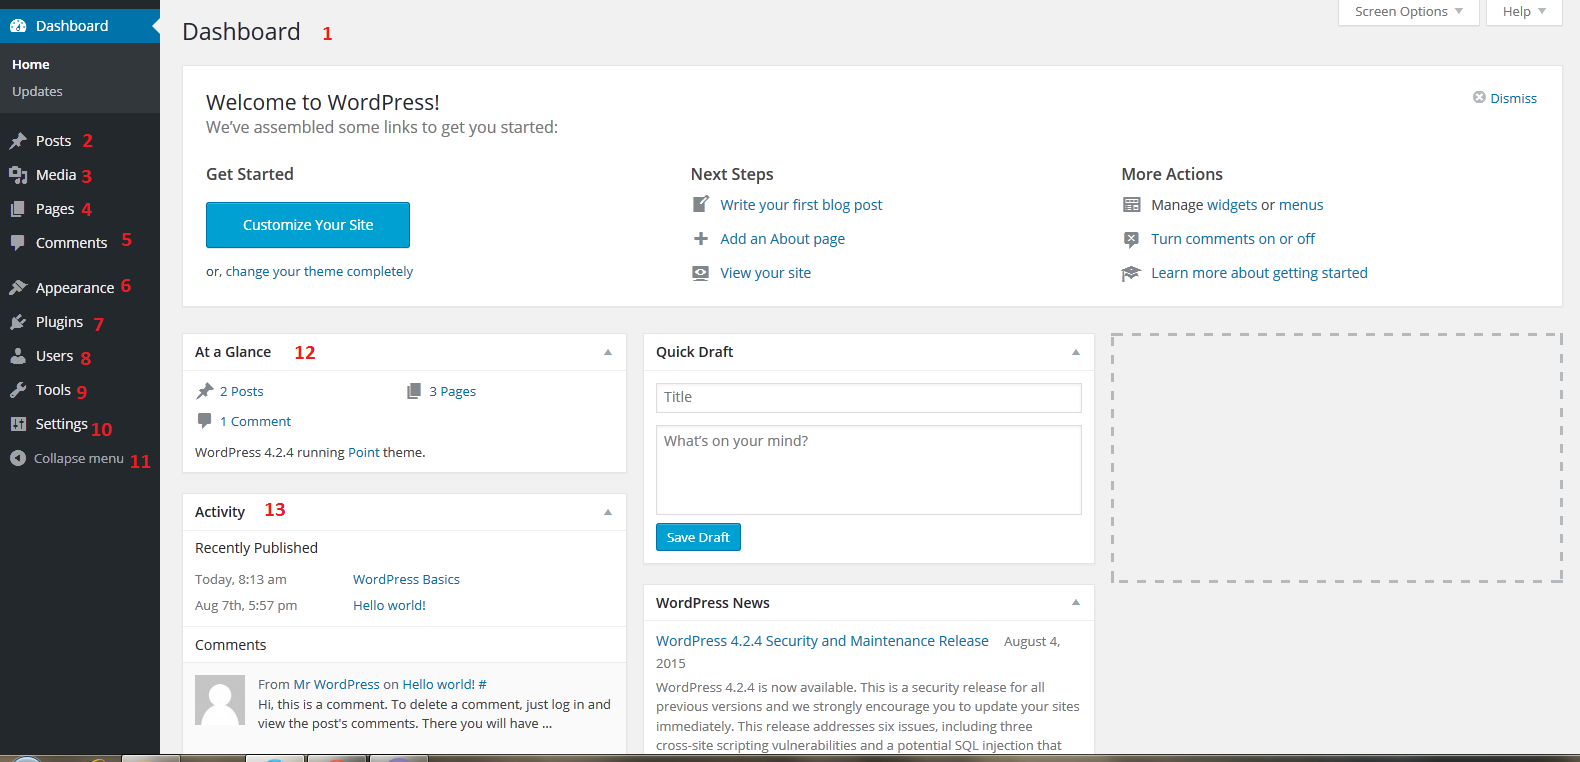
Here you can do all sorts of things to explore your creativity to design the best and awesome website. Below are the basic details of all those fields that you are looking at your dashboard right now. Go through with demo image of dashboard and to find out about any tab check the details below with same number pasted on the demo image.
1) Home – It is the home page of your website admin area which shows all the basic details (for eg: pages,posts etc) related to your website.
2) Posts – This is the posts section where all the posts (published or draft) are present. This will also show all the post details like Authors, Categories Tags etc.
3) Media – This is the media section where all the images, media that are used on the website will be stored.
4) Pages – This section contains all the information related to various pages(static or dynamic) of your website.
5) Comments – This section will show all the comments that is given by the visitors on your posts.
6) Appearance – This section will show all the information related to your website design, themes. widgets etc details.
7) Plugins – This section will show all the information related to all the plug-ins that are installed along with wordpress.
8) Users – This section stores all the information related to all the authors/admin accounts.
9) Tools – This section will show all the available tools on the wordpress to make things simple.
10) Settings – This section will show/store all the details(for eg: tagline,timezone etc) of the website.
11) Collapse menu – This will hide the left side menu to enable distraction free mode of post writing.
12) At a Glance – This shows information related to total number of posts, pages, comments etc on the website.
13) Activity – This will show last activity on the website.
I have kept this post only with basic information detail which is very important to understand.
For more wordpress related stuffs go through with other posts to find out exactly what you want.